Managing your business’s finances well is key. QuickBooks 2017 helps a lot with this by letting you split expenses by class. This makes it easier to track and report on spending in different parts of your business.
By keeping a close eye on your expenses, you can make better budget plans. This helps you make smart choices for your business. We’ll show you how this feature can help you manage your money better.
Key Takeaways
- Understanding how to split expenses by class enhances financial clarity.
- QuickBooks 2017 simplifies class expense tracking for better analysis.
- Accurate tracking improves budgeting and decision-making processes.
- Class categories allow for detailed reporting on financial health.
- Integrating class tracking into accounting boosts overall efficiency.
Understanding Classes in QuickBooks 2017
Classes in QuickBooks are a key tool for businesses. They help categorize and analyze financial data. This way, companies can see their expenses and revenues by different criteria, making their financial reports better.
Users can put transactions into different classes. This could be for departments, locations, or project types. It’s a way to organize your business’s financial data.
One important thing about these QuickBooks features is creating classes that fit your business. For example, a company can make classes for each branch. This lets them track income and expenses for each location.
This detailed tracking helps in seeing where money is going. It makes it easier to find areas that need work or improvement.
Here’s how class tracking helps with financial oversight:
| Traditional Tracking | Class Tracking in QuickBooks |
|---|
| Limited visibility into specific segments | Granular insights into each class or segment |
| Generic financial statements | Customized reports based on classes |
| Difficulty in identifying profit centers | Clear identification of profitable and underperforming classes |
When businesses use class tracking, they get more insights and accountability. They can analyze each class separately. This helps in making better budgeting and resource allocation decisions.
Benefits of Splitting Expenses by Class
Splitting expenses by class in QuickBooks 2017 brings many benefits to businesses. It gives a clear view of spending in different areas. This makes it easy to see trends and any odd spending.
It also boosts reporting. QuickBooks helps create detailed reports. These reports are key for making smart financial choices.
Effective expense tracking helps manage budgets better. Knowing where money goes helps save costs. This way, businesses can focus on what’s important and cut unnecessary spending.
In short, splitting expenses helps businesses run better. QuickBooks makes it easy to track expenses. This leads to better decisions and growth.
Step-by-Step Guide to Setting Up Classes in QuickBooks
Setting up classes in QuickBooks is key for managing expenses well. To start, follow these easy steps:
- Access QuickBooks: Open your QuickBooks app and log into your company file.
- Navigate to Class Setup: Click on the Edit menu, then select Preferences. In the left sidebar, choose Items & Inventory, and click on the Class tab.
- Enable Class Tracking: Check the box that says Use class tracking and ensure the option for Assign classes to transactions is selected.
- Create New Classes: Click on Class List, then select New to add a new class. Input a name for the class and, if desired, a brief description.
- Save Your Changes: Click OK to save the new class. Repeat this process for any additional classes you want to add.
- Verify Settings: Access your class list to ensure all classes appear as intended for effective expense management.
These steps will help you set up classes in QuickBooks efficiently. This way, you can keep your financial records organized.
| Step | Description |
|---|
| 1 | Open QuickBooks and log into your data file. |
| 2 | Go to Preferences and enable class tracking. |
| 3 | Create new classes for your transactions. |
| 4 | Verify your settings to ensure proper setup. |
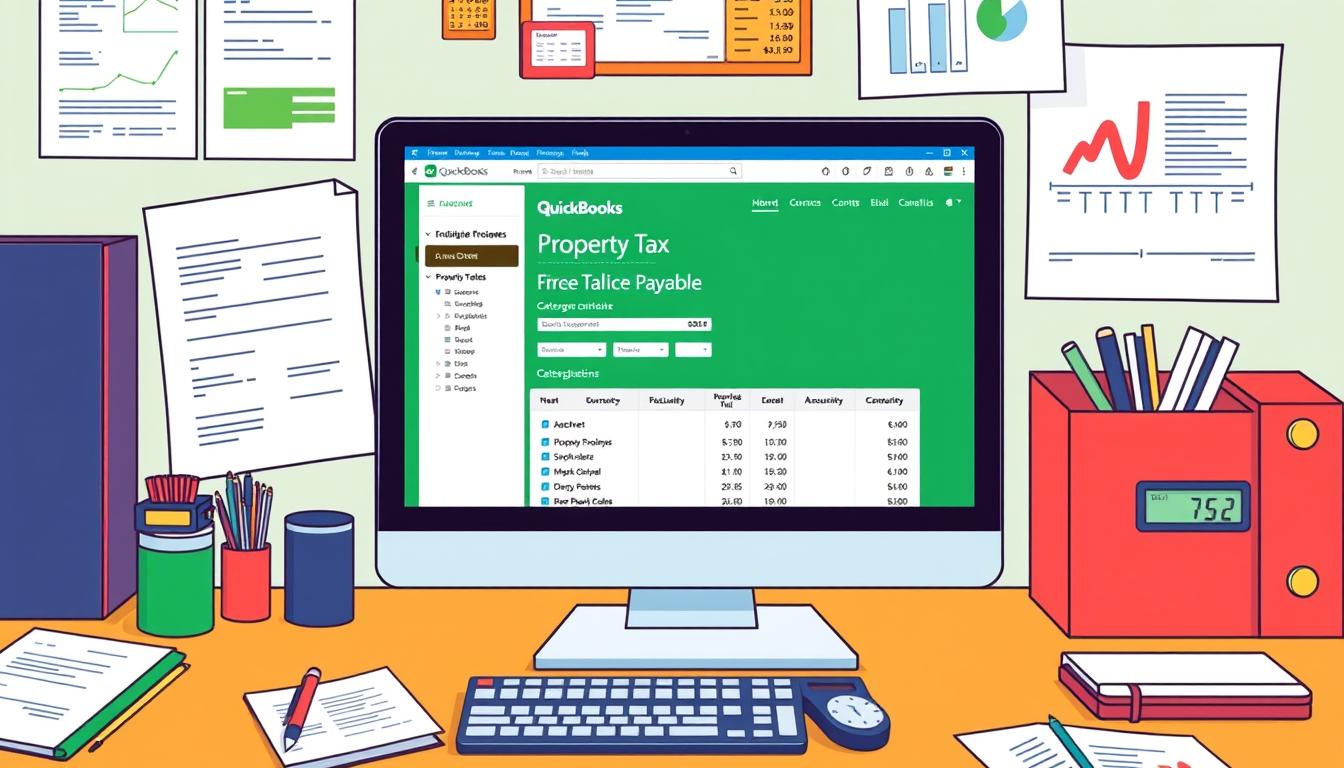
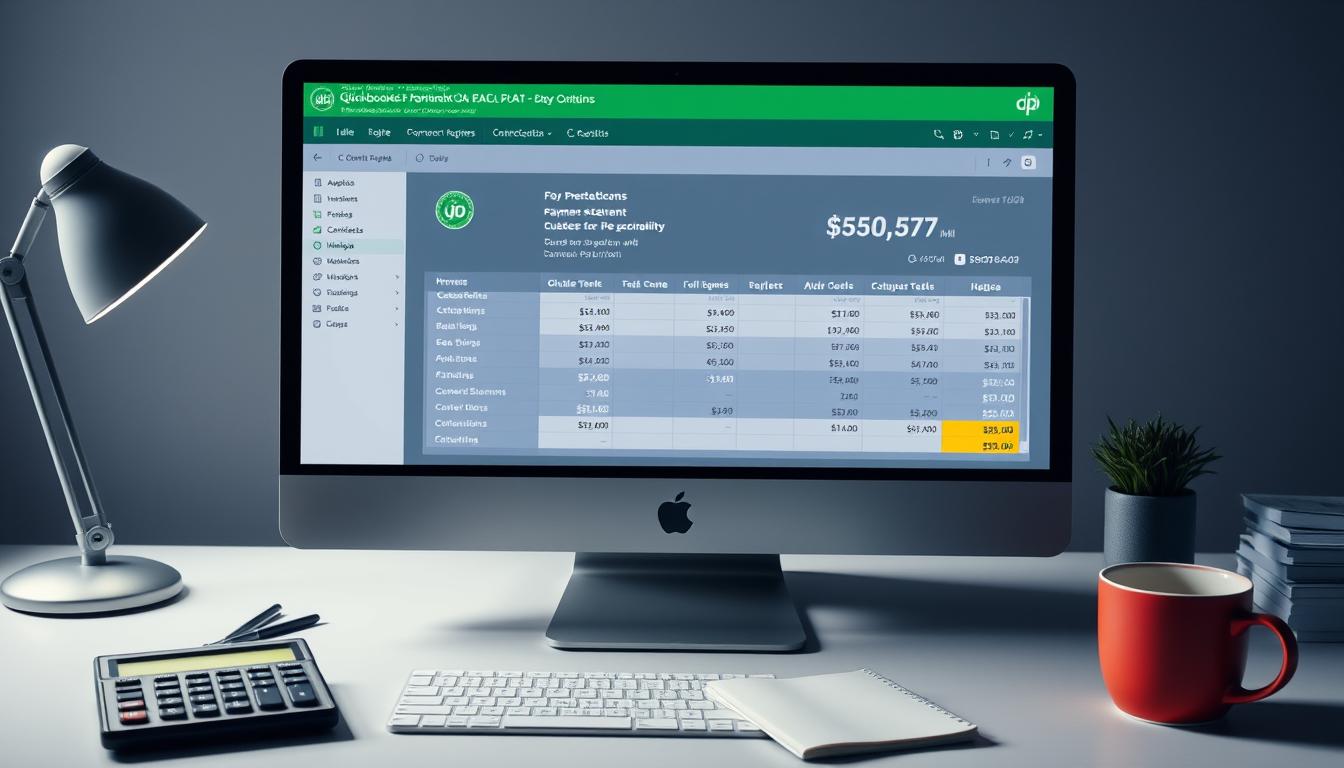
How to Split Expenses by Class in QuickBooks
Splitting expenses in QuickBooks 2017 helps track finances better. You assign classes to transactions to track costs by department or project. This makes financial tracking more accurate.
To start, follow these steps:
- Open QuickBooks and select the New Transaction option.
- Choose the right transaction type, like Expense or Check.
- In the transaction window, find the Class field. If you can’t see it, turn on class tracking in settings.
- Enter the expense amount in the right field.
- To split the expense, click Add Lines below the main expense area.
- For each line, enter the amount to allocate and pick the class from the dropdown.
- Keep adding lines until all expenses are correctly assigned.
It’s important to record expenses correctly. Check your entries before saving to make sure everything is right. This helps avoid mistakes in financial reports.
This accounting solution helps keep records clear and makes data easy to find. By managing class assignments well, businesses can understand their financial performance better.
| Step | Description |
|---|
| 1 | Open a new transaction and select the type. |
| 2 | Locate the Class field and ensure it’s visible. |
| 3 | Enter the total expense amount. |
| 4 | Use Add Lines to split the amount by class. |
| 5 | Before saving, double-check all entries. |
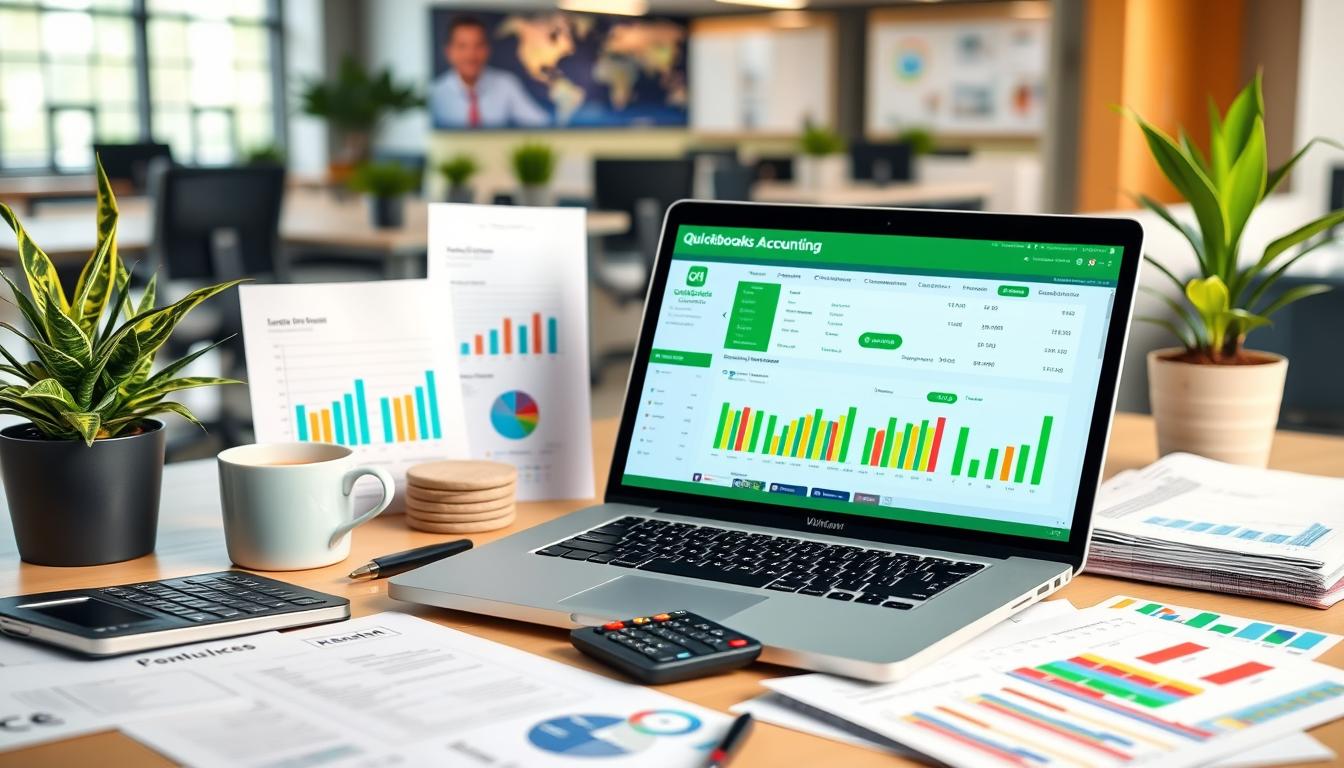
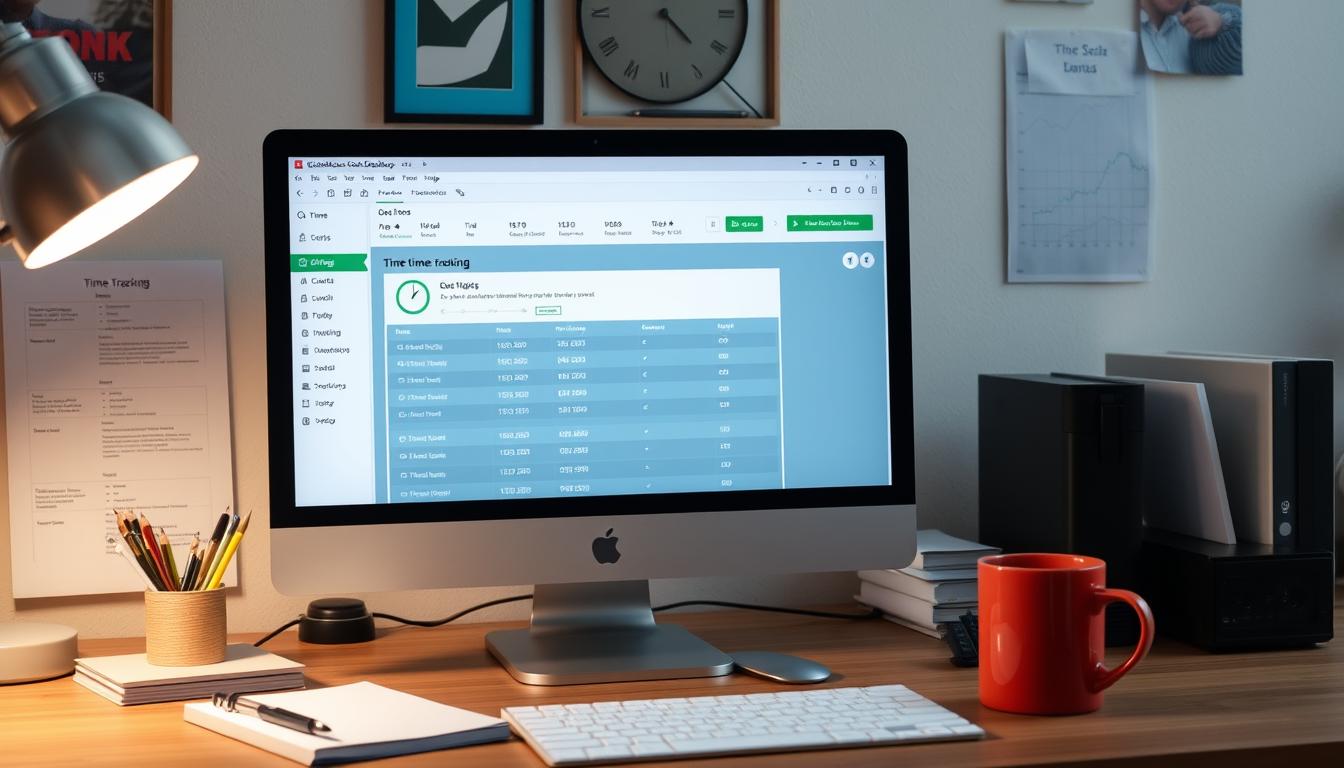
Using QuickBooks 2017 to Track Class Expenses
QuickBooks 2017 has many tools to help businesses track class expenses well. These QuickBooks tools give users a deeper look into their financial activities.
One key feature is customizable dashboards that show spending by class. This makes expense tracking easier and helps spot trends in class spending. It’s easy to use these dashboards to get detailed info for each class.
QuickBooks reports let businesses see expenses in a visual way. Users can sort results by class for quick comparisons and better financial control. The reports can be customized to fit a business’s needs.
- Efficient Expense Tracking: Users can organize expenses to match their business structure.
- User-Friendly Reports: Easy-to-read reports help with making financial decisions.
- Visual Dashboards: Analyze spending patterns and manage resources well.
Learning to use these features helps businesses track class expenses smoothly. QuickBooks insights lead to smart financial choices. Using these tools well can improve a business’s financial health and success.
Creating and Managing Classes in QuickBooks
Creating and managing classes in QuickBooks helps organize your business better. It lets you sort transactions into categories, making your financial data easier to understand. To start, go to the “Lists” menu and choose “Class List.” There, you can create new categories that fit your business.
Keeping your class structure organized is crucial. You can merge similar classes or delete old ones. This keeps your financial data tidy for reports and analysis.
- Identify classes that need adjustment or can be merged.
- Access the Class List in QuickBooks to make necessary changes.
- Keep notes on class merging or deletions to maintain a clear record.
Here are some key points to remember when managing classes in QuickBooks:
| Action | Description | Benefit |
|---|
| Create Classes | Set up classifications for different departments or projects. | Facilitates targeted reporting and analysis. |
| Merge Classes | Combine similar classes to reduce complexity. | Streamlines data and minimizes confusion. |
| Delete Classes | Remove unnecessary or outdated classes. | Enhances organization and clarity in financial data. |
Managing classes well is key for accurate expense tracking in QuickBooks. With the right steps, your financial records will better show your business’s health.
Tips for Accurate Expense Splitting in QuickBooks
To get accurate expense splitting in QuickBooks, you need to pay close attention. Follow these QuickBooks tips to improve expense accuracy:
- Double-check class assignments before finalizing any transactions. Verifying this information can prevent significant errors down the line.
- Maintain consistent naming conventions for classes. Clear and descriptive names help identify the purpose of expenses quickly.
- Utilize QuickBooks features that flag possible discrepancies. Automation tools can help pinpoint potential issues in expense splitting.
- Regularly review and reconcile your class allocations. Set aside time each month to ensure that everything aligns with your expected budget.
- Train your team on best practices for data entry in QuickBooks. The more familiar they are with the software, the higher your overall expense accuracy.
Common Mistakes When Splitting Expenses by Class
Using QuickBooks to split expenses by class helps track finances better. But, making mistakes can cause big problems. One common error is misclassifying expenses, which distorts reports.
Transactions not tagged right can lead to this issue. Not assigning classes when entering transactions also messes up financial accuracy. If expenses aren’t categorized, the financial picture gets jumbled.
Another mistake is not regularly checking class data. Not keeping an eye on this can lead to QuickBooks errors over time. This can make financial assessments harder with outdated info.
Also, inconsistent categorization can lead to financial pitfalls. If different people enter data differently, it’s hard to know which expenses go where.
To avoid these mistakes, creating a checklist can help. Double-checking classifications and reviewing class assignments regularly is key. Fixing these errors now will make your financial tracking more accurate and reliable in the long run.
| Common Mistakes | Impact | Solution |
|---|
| Misclassification of Expenses | Skewed financial reports | Review categories regularly |
| Overlooking Class Assignments | Muddled financial picture | Ensure assignment at entry |
| Neglecting Regular Reviews | Outdated financial data | Schedule routine data checks |
| Inconsistent Data Entry | Confusion in reporting | Standardize data entry protocols |
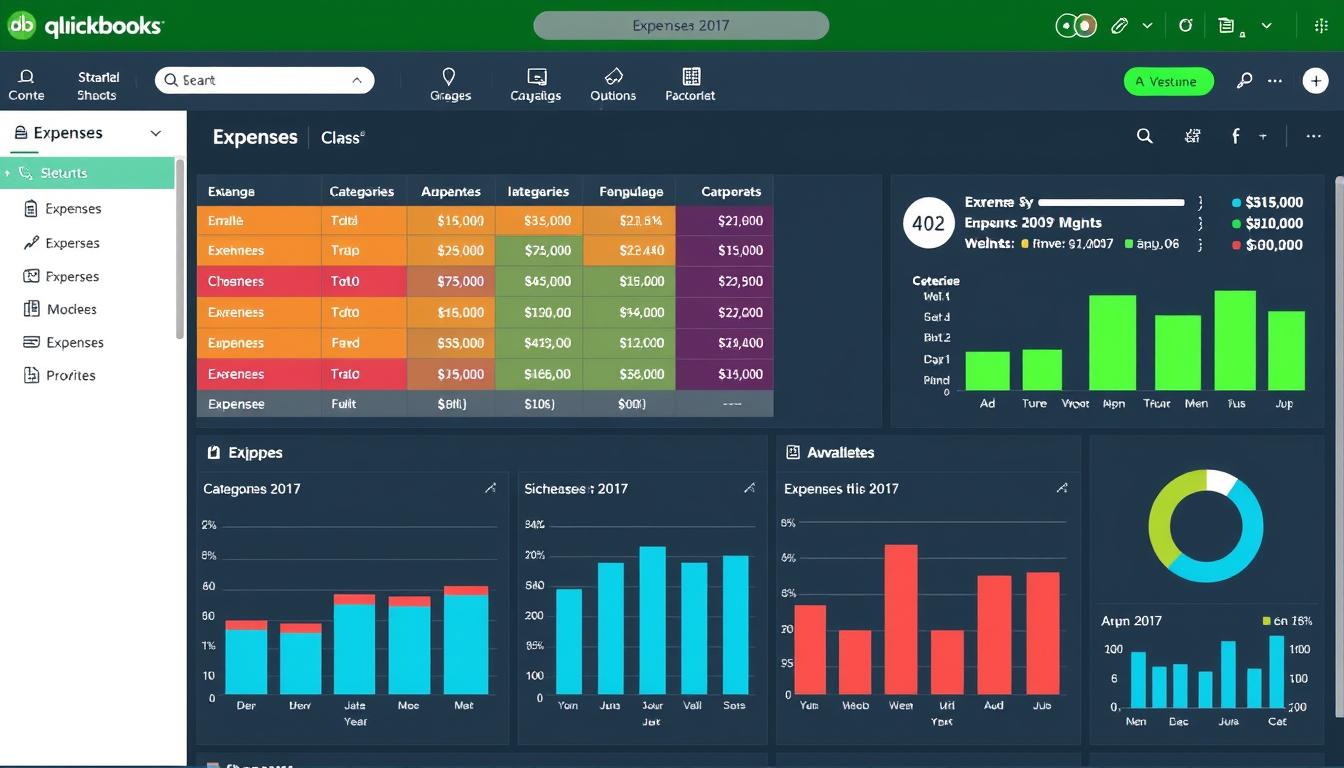
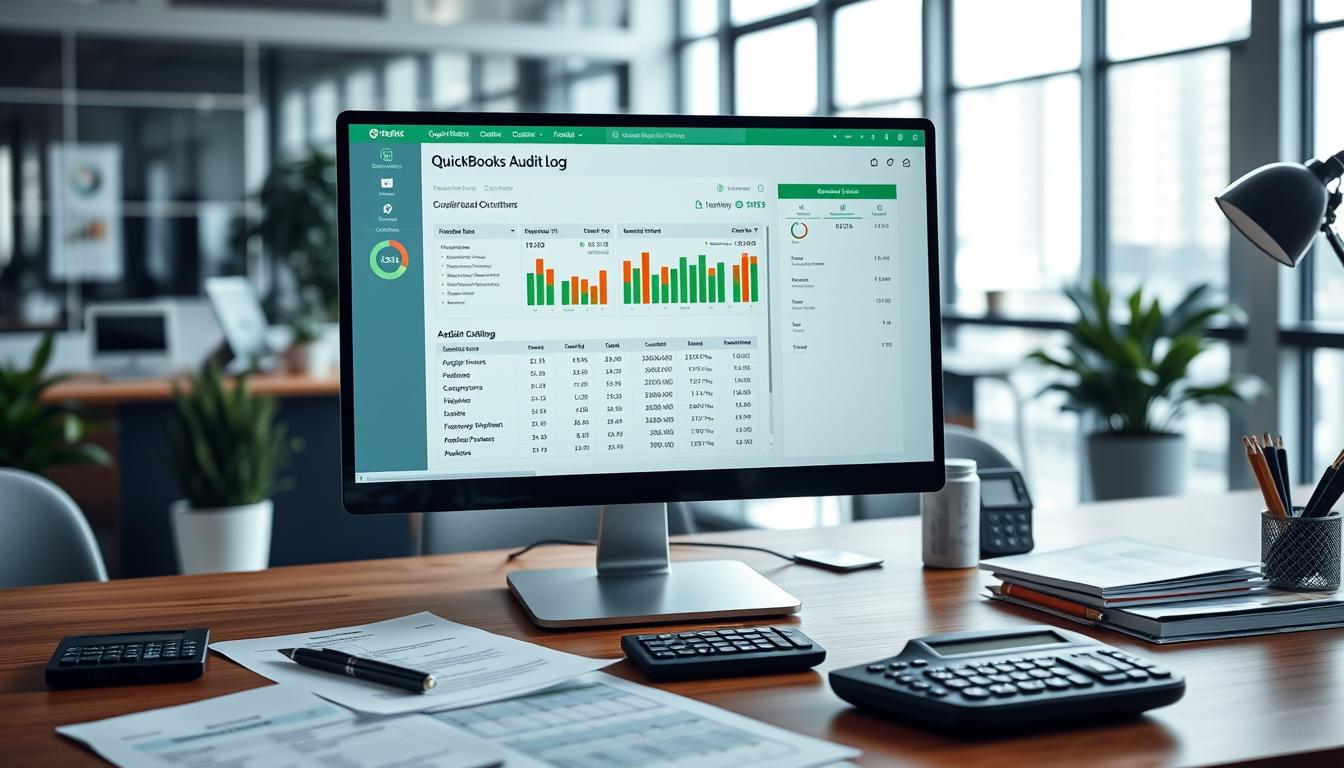
Utilizing Reports for Class Expenses in QuickBooks
QuickBooks 2017 has great reporting tools for managing class expenses. It lets users make detailed reports on where money is going in their business. This helps see how funds are spread across different parts of the business.
With QuickBooks reporting, you can spot trends in spending by class. This helps in making smart budget changes and planning. It’s key to understand the data in these reports for deep financial analysis.
Here’s a quick guide on how to create class expense reports in QuickBooks 2017:
- Navigate to the Reports menu.
- Select “Class” from the list of available reports.
- Customize your report by specifying the date range and relevant classes.
- Run the report to visualize your class expenses.
Using these reports helps businesses find and fix spending issues. For a full view, check out the table below that shows important report parts:
| Report Component | Description |
|---|
| Date Range | Specifies the time period for expense tracking. |
| Class | Indicates the specific segment or department. |
| Total Expenses | Summarizes total expenditures by class. |
| Budget Comparisons | Compares actual expenses to budgeted amounts. |
Creating detailed class expense reports makes financial analysis easier. It also helps businesses use data for better financial planning.
Advanced Class Tracking Features in QuickBooks 2017
QuickBooks 2017 brings advanced tracking features that make managing class expenses easier. It introduces nested classes for more detailed categorization. This makes tracking simpler and offers enhanced financial insights for better decision-making.
The QuickBooks 2017 features also let you track expenses by job or project. This helps in allocating costs effectively and understanding profitability per project. Customizing class reports allows users to analyze financial data based on specific criteria, making insights easily accessible.
Using these advanced options, businesses can see their financial health more clearly. This leads to more accurate reporting, better strategic planning, and improved financial management.
Why Choose QuickBooks for Class Expense Management
QuickBooks is a top choice for managing class expenses. It’s easy to use, making it perfect for both new users and experienced accountants. Its simple interface lets you quickly find and manage financial data.
QuickBooks is great for tracking expenses by class. This makes it easy to see where money is going and plan budgets better. You can find and organize class-related transactions easily, saving time and effort.
The software also has powerful reporting tools. These tools help you make smart decisions by showing detailed reports on class expenses. You can see trends and areas for improvement, helping with financial planning and keeping things transparent.
In summary, QuickBooks is a great pick for managing class expenses. It makes complex financial tasks simple without losing functionality. This makes it a top choice for anyone looking for effective accounting solutions.
Integrating QuickBooks with Other Financial Tools
QuickBooks works well with many financial tools to help manage class expenses. Payment processing software makes transactions smooth, keeping QuickBooks up to date. This reduces mistakes and saves time for businesses.
CRM systems also play a big role. They combine customer data with financial info, giving a full view of business operations.
Point-of-sale systems are key too. They send sales data to QuickBooks, making expense tracking more accurate. This helps users keep a close eye on their finances.
The table below shows some top financial tools that work well with QuickBooks:
| Financial Tool | Key Features | Benefits of Integration |
|---|
| Payment Processing Software | Real-time transaction records, automated invoicing | Faster cash flow, reduced manual entry errors |
| CRM Systems | Customer tracking, sales pipeline management | Unified financial and sales insights, enhanced reporting |
| Point-of-Sale Systems | Sales tracking, inventory management | Accurate expense reporting, better inventory control |
Using these tools with QuickBooks makes managing class expenses easier. It boosts efficiency and financial control, helping businesses succeed.
Conclusion
Splitting QuickBooks class expenses is key for better financial management. By using the methods from this article, you can track your expenses well. QuickBooks 2017 lets businesses see how different areas are doing financially, helping with decisions.
Spending time on setting up classes and tracking expenses well improves your financial management. Use QuickBooks’ advanced features for a detailed expense summary that meets your goals. These tools help you understand your finances better and make smart choices.
Using QuickBooks for class expense management has many benefits. Tracking expenses well can uncover new insights. This can help your business reach its financial goals.
FAQ
How do I split expenses by class in QuickBooks 2017?
To split expenses by class in QuickBooks 2017, start by opening the transaction entry window. Then, pick the expense item you want to split. Next, use the “Class” drop-down menu to assign the right class to each line item. This way, you can track expenses for each class, giving you a clear view of your finances.
What are the benefits of using class tracking in QuickBooks 2017?
Class tracking in QuickBooks 2017 brings many benefits. It helps you see where your money is going, improve your reports, and manage your budget better. It lets you check how your business is doing in different areas, helping you make smart choices.
Can I create and manage classes in QuickBooks 2017?
Yes, you can create and manage classes in QuickBooks 2017. You can add new classes, change existing ones, or merge and delete them as needed. This keeps your accounting organized and makes it easy to report on your financial data.
How do I ensure accurate expense splitting in QuickBooks?
To split expenses accurately in QuickBooks, always check class assignments before saving transactions. Follow good data entry practices and regularly check class data for consistency. QuickBooks features help reduce errors and make your financial reports more accurate.
What common mistakes should I avoid when splitting expenses by class?
Common mistakes include misclassifying transactions and not assigning classes during data entry. Also, don’t forget to review class assignments regularly. Avoiding these mistakes keeps your financial records accurate and helps track expenses correctly.
How can I utilize reports for tracking class expenses in QuickBooks?
To track class expenses in QuickBooks, use class-specific reports from the “Reports” menu. These reports give you insights into spending by class. This information helps with financial planning and evaluating your business’s performance.
What are advanced class tracking features available in QuickBooks 2017?
QuickBooks 2017 offers advanced class tracking features like nested classes and job or project tracking. You can also customize class reports. These features help with deeper expense analysis and better financial insights across different business areas.
How does QuickBooks simplify class expense management?
QuickBooks makes managing class expenses easy with its simple interface, detailed tracking, and strong reporting tools. These features help businesses organize their financial data and track expenses clearly across different classes.
Can QuickBooks integrate with other financial tools for managing class expenses?
Yes, QuickBooks can connect with various financial tools like payment processing software, CRM systems, and point-of-sale systems. This integration makes managing class expenses smoother and provides better financial oversight.