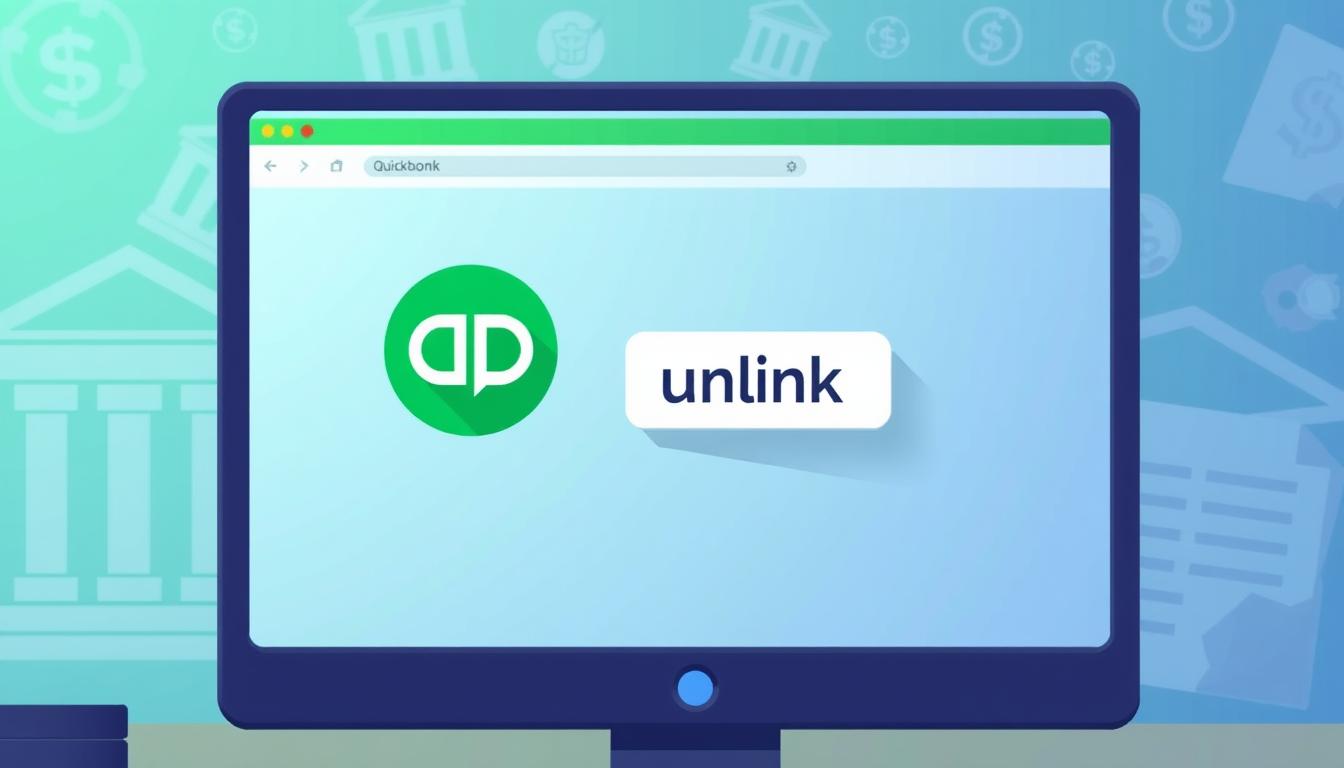
Being able to unlink QuickBooks accounts from a bank is key for good QuickBooks account management. QuickBooks helps make financial tasks easier, but sometimes you need to disconnect accounts. This could be to fix mistakes or handle more than one bank account better.
This article will show you how to unlink QuickBooks accounts. It’s important for keeping your financial records right. You’ll learn how this helps with managing your money better.
Key Takeaways
- Understanding when to unlink QuickBooks accounts is essential.
- The process varies between QuickBooks Online and QuickBooks Desktop.
- Manual updates may be required after disconnecting accounts.
- Recognizing common errors can save time during the unlinking process.
- Temporary disconnection is an alternative option for users.
Understanding the Need to Unlink Your QuickBooks Accounts
Knowing why to unlink QuickBooks accounts is key to keeping your finances right. It helps avoid confusion and makes managing money easier. It’s important to know when to break the link with bank accounts to keep things running smoothly.
Why Disconnecting is Necessary
There are many reasons to unlink QuickBooks accounts. You might need to do this if:
- You change banks or close an account.
- You prefer a different way of keeping track of money.
- There are problems with how the accounts talk to each other.
Knowing when to unlink helps avoid problems with money reports and matching transactions.
Common Scenarios for Unlinking
Here are some common times to unlink:
- When you switch to a new bank and need to update your connections.
- To get rid of duplicate accounts and make your financial reports clearer.
- If you’re worried about security, like if someone got into your account without permission.
Understanding these situations helps you make smart choices about your QuickBooks accounts.
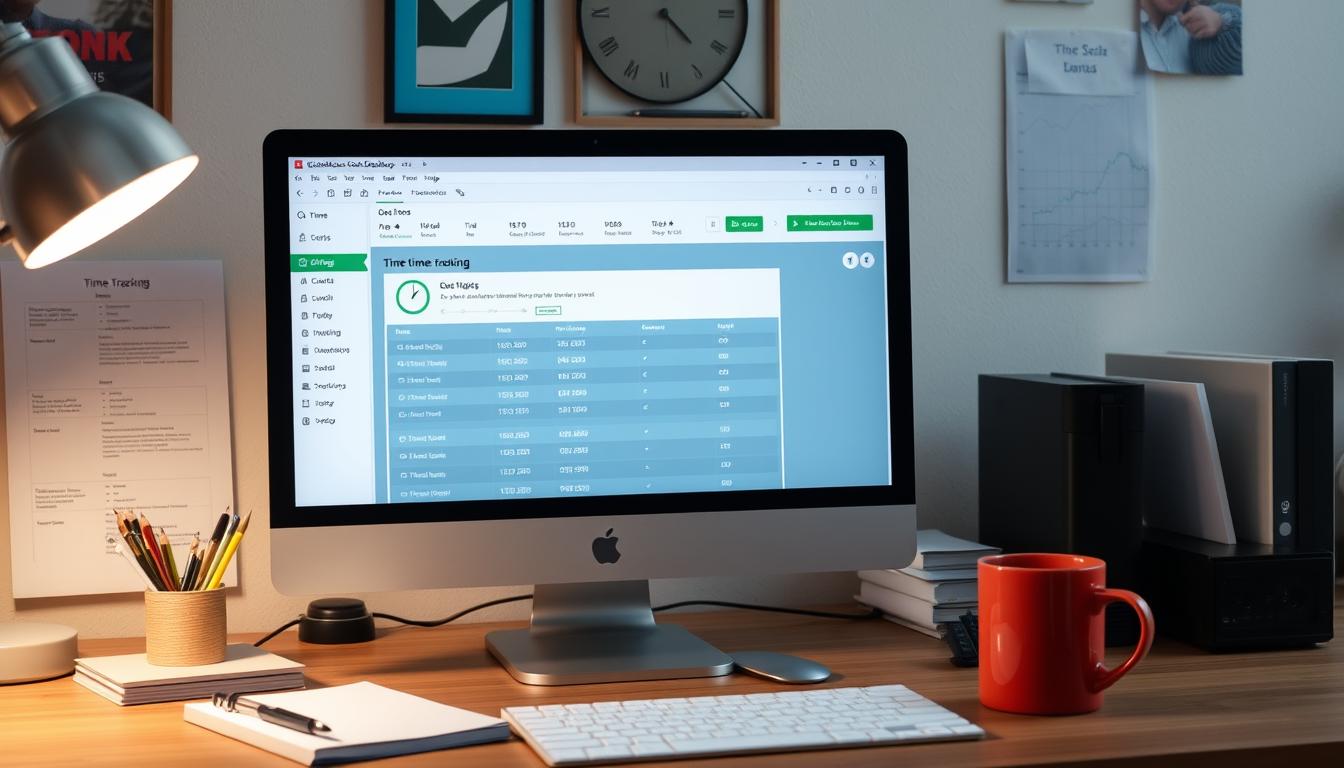
Step-by-Step Guide to Unlinking QuickBooks Accounts
Learning how to unlink QuickBooks accounts can make your financial work easier. This guide will show you how to do it step by step. You’ll learn how to access QuickBooks, find the bank accounts section, and unlink an account.
Accessing Your QuickBooks Application
First, open your QuickBooks software or log into QuickBooks Online. Make sure you use the right login details. Wait for the dashboard to fully load after you log in.
Navigating to the Bank Accounts Section
On the dashboard, look at the left menu. Click on “Banking” or “Transactions” to move forward. This will take you to the QuickBooks bank accounts area, where you can see all linked accounts.
Selecting the Account to Unlink
In the bank accounts section, you’ll see a list of connected accounts. Find the account you want to unlink. Click the drop-down menu next to it. Choose the unlink option and follow any instructions on the screen to confirm.
By following these steps, you can remove any bank links you don’t need. This makes managing your finances in QuickBooks easier.
QuickBooks Online vs. QuickBooks Desktop Unlinking Process
The unlinking process for QuickBooks Online and QuickBooks Desktop differs. Each version has its own interface and steps, catering to different user needs. Knowing these differences helps users navigate the unlinking process smoothly, no matter the version.
Key Differences in Processes
QuickBooks Online unlinking requires fewer steps than QuickBooks Desktop. In QuickBooks Online, users can unlink accounts directly from the banking section. QuickBooks Desktop, however, needs users to go through menus to access linked accounts. Here’s a quick comparison:
| Aspect | QuickBooks Online | QuickBooks Desktop |
|---|
| Access Point | Banking section in Dashboard | Lists menu, then Chart of Accounts |
| Steps Required | Fewer, more streamlined | More detailed, involves multiple selections |
| User Interface | Web-based, intuitive interface | Desktop application, traditional layout |
Conditions for Each Version
Knowing the conditions for each version makes unlinking easier. QuickBooks Online unlinking needs an internet connection and the right permissions. QuickBooks Desktop unlinking, on the other hand, might require specific software and doesn’t need internet access. Being informed about these conditions can make the process less frustrating.
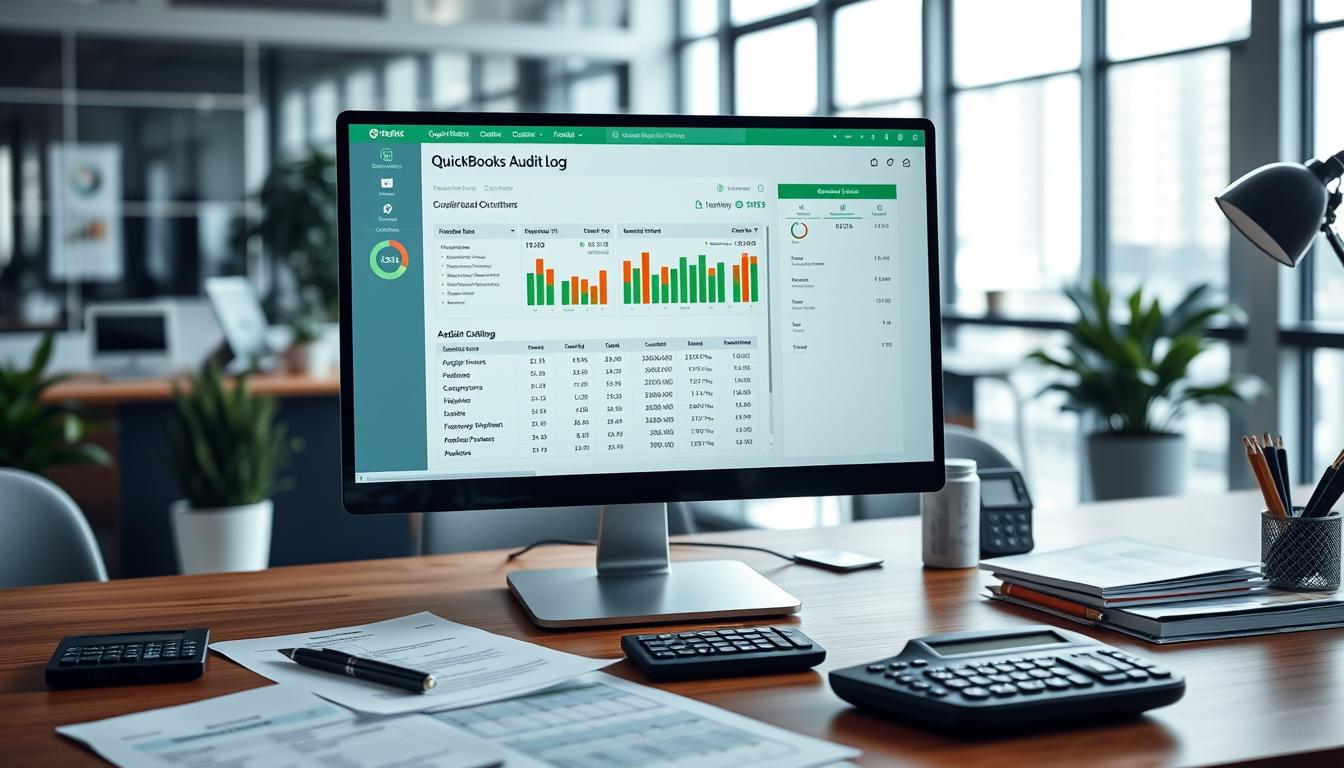
Troubleshooting Unlinking Issues
Many users face problems when trying to unlink accounts in QuickBooks. These issues can include connection timeouts, bank authentication failures, or picking the wrong accounts. Knowing these common problems helps fix the unlinking process smoothly.
Common Errors Encountered
Here are some usual issues when unlinking accounts:
- Connection Timeouts: Sometimes, the connection drops while unlinking, stopping the process.
- Bank Authentication Issues: Trouble verifying bank details can block the unlinking process.
- Wrong Account Selection: Picking the wrong account can cause confusion and more problems.
How to Resolve Connection Problems
Here are some ways to solve these issues:
- Check Internet Connection: Make sure your internet is stable to avoid timeouts.
- Verify Bank Information: Check your bank details carefully to ensure they’re correct for authentication.
- Review Account Selections: Make sure you’ve chosen the right account to avoid extra trouble.
Verifying Your Unlinking Success
After unlinking your bank accounts from QuickBooks, it’s key to make sure it worked. A few steps can help you check if QuickBooks unlinking was successful. Confirming changes in QuickBooks accounts ensures no data is left linked by mistake. Also, checking transaction discrepancies is vital for keeping your records accurate.
Confirming Changes in QuickBooks
To confirm changes in QuickBooks, go to the “Banking” or “Transactions” tab. Look for the account you wanted to unlink. If it’s not there, it means you’ve successfully unlinked it. But if it’s still there, it might mean the unlinking didn’t go through right.
Checking for Discrepancies in Transactions
After unlinking, it’s crucial to check for any transaction discrepancies. Look over all transactions linked to the account you unlinked. Make sure they match your manual records. This step helps keep your finances accurate and error-free.
Understanding the Impact of Unlinking QuickBooks Accounts
When users unlink their QuickBooks accounts, they face big changes. These changes affect more than just how they connect. They also impact financial reports and how accounts are reconciled.
Effects on Your Financial Records
Unlinking QuickBooks can change your financial records a lot. You’ll have to enter financial data by hand instead of using automatic uploads. This can make your financial reports less accurate if you forget to enter some transactions.
It’s very important to keep your records accurate to avoid mistakes.
How It Affects Reconciliations
Unlinking QuickBooks changes how you reconcile accounts. You’ll have to do it all by hand because automatic syncing stops. This can take a lot of time and might lead to errors.
You’ll need to check your transactions carefully to make sure everything is right. Moving from automatic to manual processes requires a lot of attention to detail.
Knowing these effects helps users deal with the challenges after unlinking. It shows how crucial it is to keep financial records accurate during this time.
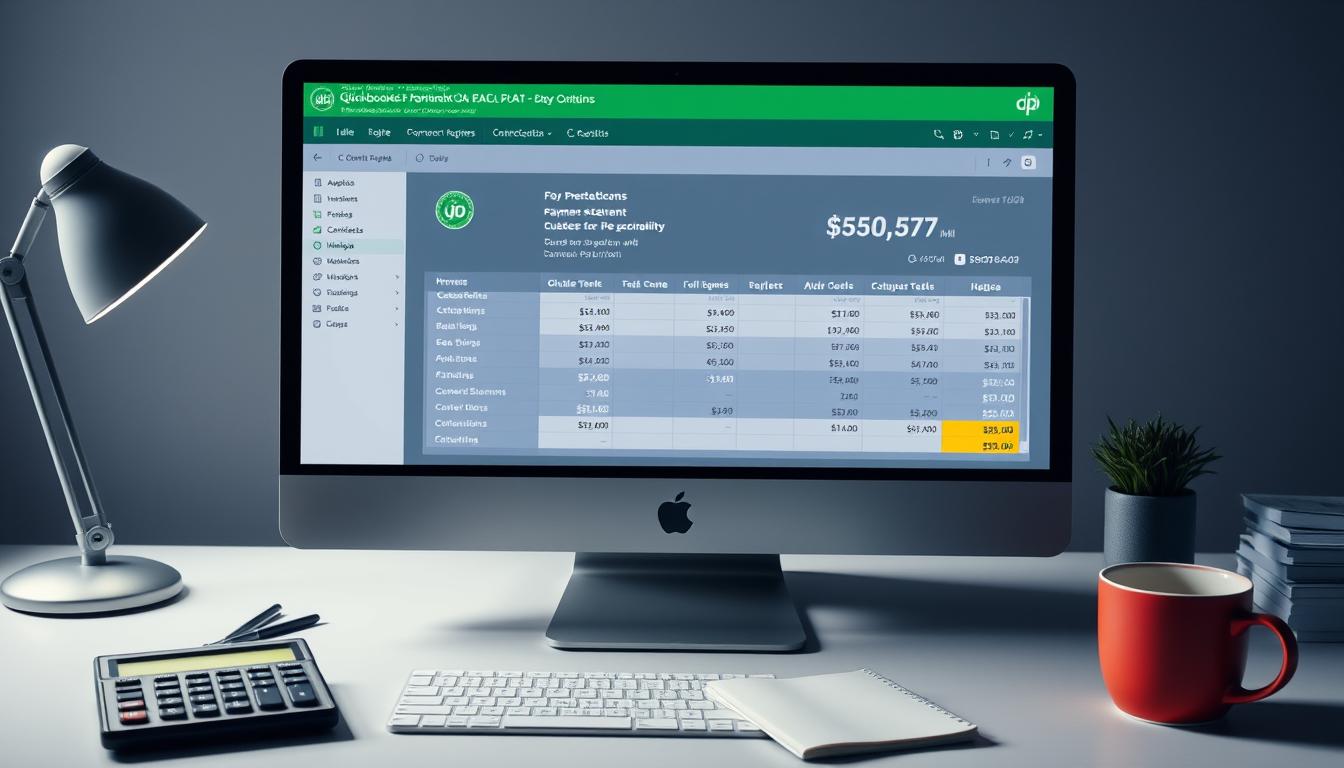
Manually Updating Your QuickBooks Accounts After Unlinking
After unlinking your QuickBooks accounts, it’s key to update them manually. This keeps your financial data accurate. Knowing how to enter transactions in QuickBooks is crucial for businesses. This guide will help you enter transactions manually and update your financial reports.
How to Input Transactions Manually
Entering transactions in QuickBooks needs careful attention. This ensures all financial activities are recorded correctly. Here’s how to do it:
- Open your QuickBooks application and go to the Transaction section.
- Choose New Transaction and pick the right type, like Invoice, Payment, or Expense.
- Enter the date, amount, vendor or customer details, and account info.
- Check your entries for accuracy and save the transaction.
Adjusting Your Financial Reports
After unlinking, you need to update your financial reports. Here’s a simple checklist:
- Run a reconciliation report to find any differences.
- Make sure all manual transactions match bank statements and invoices.
- Update your profit and loss statement with the latest data.
Correct adjustments will improve your financial reporting system’s accuracy. Regular updates help avoid errors and keep your finances clear.
| Transaction Type | Steps for Manual Entry |
|---|
| Invoice | Select New Invoice, fill in customer details, itemize products/services, and save. |
| Payment | Select Record Payment, link to the invoice, enter payment method, and save. |
| Expense | Select New Expense, fill in vendor info, add amount, and save. |
Alternatives to Unlinking QuickBooks Accounts
For users looking to manage their QuickBooks accounts without completely unlinking them from their bank, several alternatives exist. These options can simplify financial management without sacrificing functionality.
Temporarily Disconnecting Your Bank Account
A temporary disconnect QuickBooks option allows users to pause synchronization with their bank without a permanent unlinking. This can be beneficial in situations when users want to ensure that certain transactions are manually entered or if they need time to rectify discrepancies. To implement this, follow these straightforward steps:
- Navigate to the banking section of your QuickBooks account.
- Select the bank account you wish to disconnect.
- Choose the option for a temporary disconnect, allowing changes without altering the linkage permanently.
Using Other Integration Tools
Exploring QuickBooks integration tools can offer users the ability to streamline financial processes without fully unlinking their accounts. Various tools can help manage data, enhance reporting, or provide financial insights effectively. The benefits of using these tools include:
- Improved data synchronization while maintaining original bank connections.
- Additional functionalities such as invoicing or expense tracking that may not be present in QuickBooks alone.
- Flexibility in managing software without the complexity of adjustments in core accounting systems.
Conclusion
In this guide, we’ve covered the key steps for unlinking QuickBooks accounts. Knowing when and why to disconnect accounts is crucial for better financial management. We’ve walked you through the process, including troubleshooting tips for any problems you might face.
QuickBooks management tips are also shared to help you through this process. Whether you’re updating transactions manually or considering temporary bank account disconnections, our insights are here to guide you. This ensures your financial records stay accurate.
Effective QuickBooks account management boosts your financial control and reporting. By following these practices, you can improve your financial operations. This aligns with your business goals, making your financial management smoother.
FAQ
How do I unlink my QuickBooks accounts from my bank?
To unlink your QuickBooks account from your bank, open QuickBooks. Go to the bank accounts section. Choose the account you want to disconnect and follow the prompts. This helps you manage your QuickBooks account well and keep your financial records accurate.
What are the reasons to unlink QuickBooks accounts?
There are several reasons to unlink QuickBooks accounts. You might change banks, fix integration issues, or remove duplicate accounts for clarity. Security concerns can also lead to disconnecting accounts. Knowing these reasons helps in managing QuickBooks accounts effectively.
Are there different processes for unlinking accounts in QuickBooks Online and QuickBooks Desktop?
Yes, unlinking processes vary between QuickBooks Online and Desktop. Each version has its own steps. It’s important to know the specific steps for your version to unlink smoothly.
What troubleshooting steps can I take if I encounter errors while unlinking?
If you face errors like connection timeouts or authentication problems, check your internet first. Then, re-enter your bank credentials. If issues continue, contact QuickBooks support or look for online solutions.
How can I verify if my QuickBooks accounts have been successfully unlinked?
To check if your QuickBooks accounts are unlinked, look at the bank accounts section. Make sure the changes are correct. Also, review your transaction records for any discrepancies.
What impact might unlinking my QuickBooks accounts have on my financial records?
Unlinking QuickBooks accounts can change your financial records and reconciliation. You might lose automated transaction syncing. This means you’ll need to enter transactions manually and update your financial reports to keep data accurate.
How can I manually update my QuickBooks accounts after unlinking?
After unlinking, you’ll need to enter transactions manually. Make sure to record new transactions correctly in QuickBooks. Also, update your financial reports to show any changes in your financial data.
Are there alternatives to unlinking my QuickBooks accounts?
Yes, you can temporarily disconnect your bank connection instead of permanently unlinking. You can also use other integration tools with QuickBooks. This way, you can keep some functionalities without fully disconnecting.